5% off with code HELLO5
Kentia Palm (Howea) Care
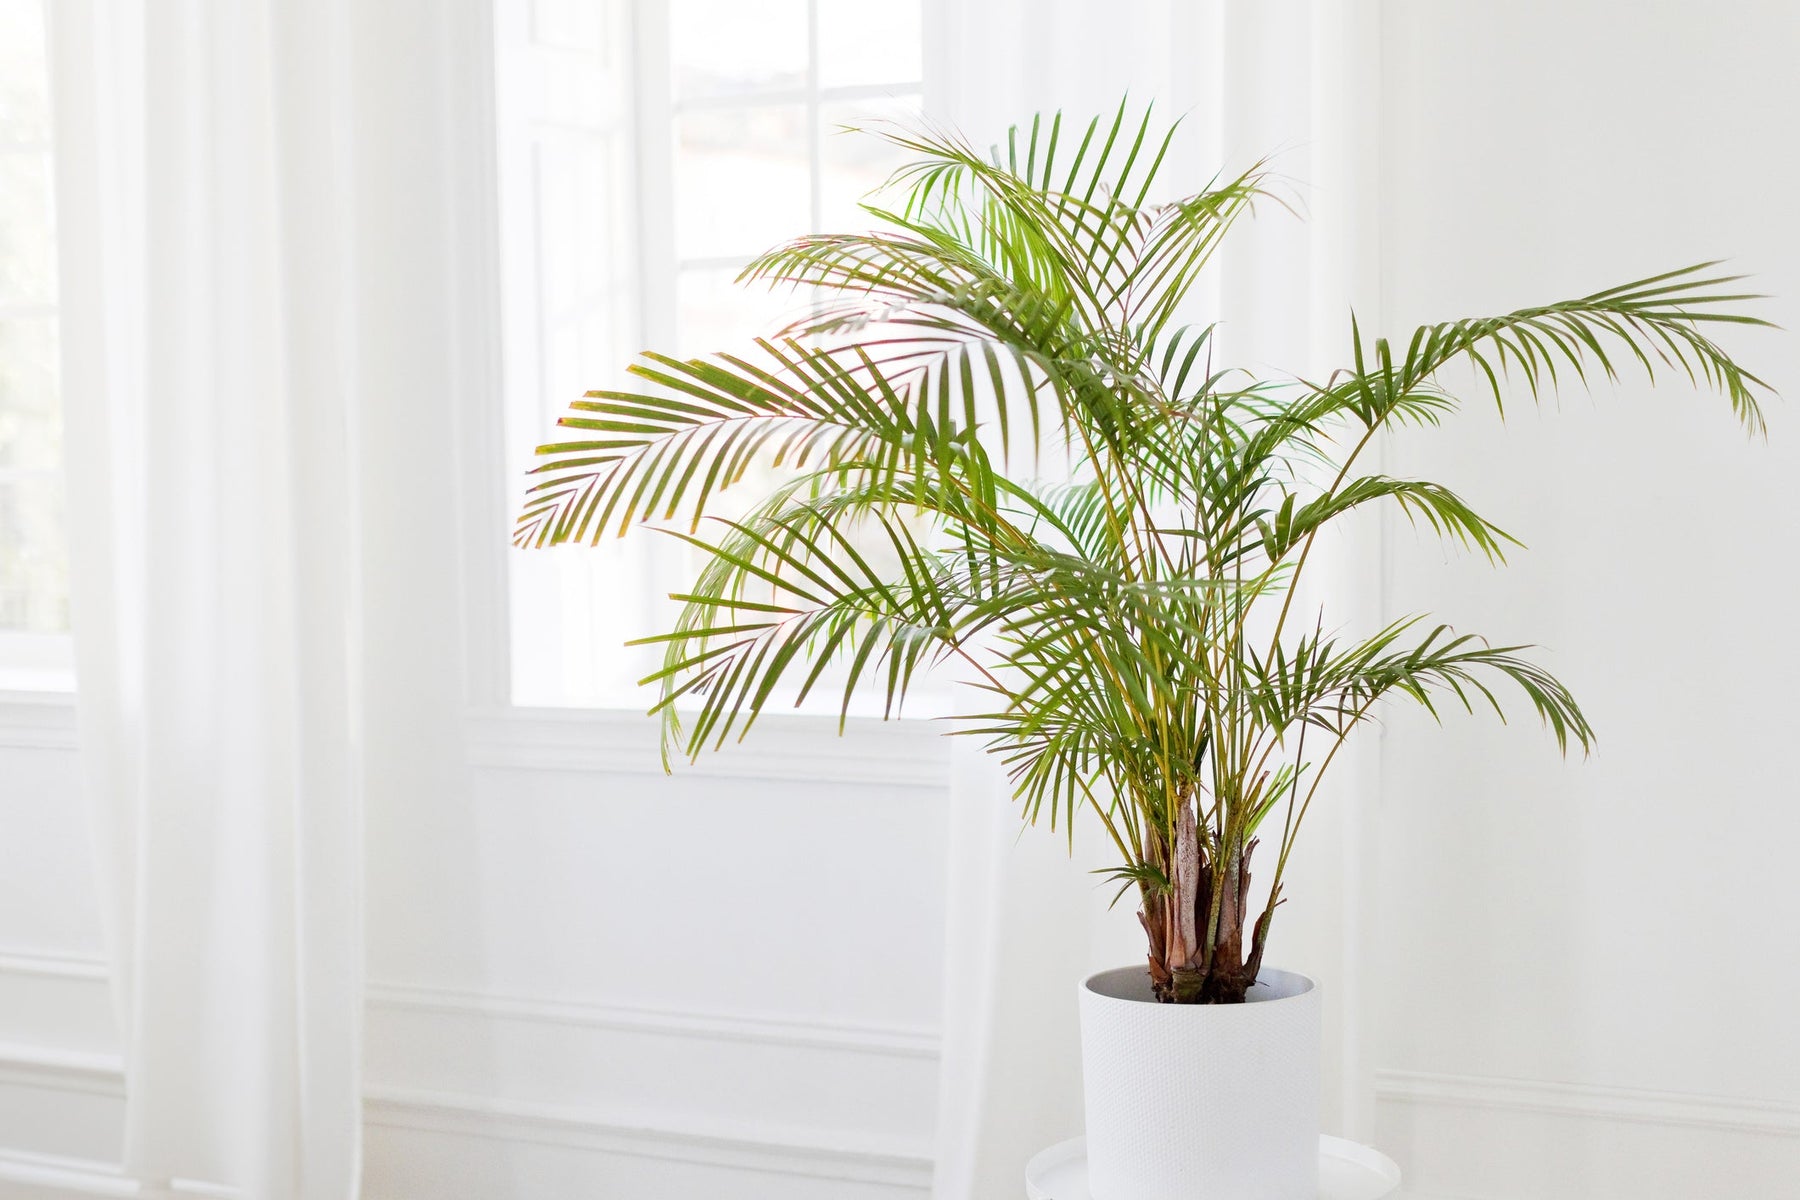
The Kentia Palm, also known as Howea forsteriana, or Kentia Palm, is an elegant and versatile houseplant that brings a touch of tropical atmosphere into your home. This beautiful plant, native to Australia, is known for its slender trunk and lush, green leaves that are perfect for decorating any room. Caring for a Kentia Palm is relatively simple, provided you follow a few basic guidelines. In this blog, we discuss everything you need to know about caring for this stylish plant.

Watering the Kentia Palm
Proper watering is crucial for the health of your Kentia Palm. Too much or too little water can lead to problems such as root rot or drying out. Here we answer some frequently asked questions about watering this plant.
How often should I water my Kentia Palm?
The Kentia Palm needs water regularly, but the frequency depends on the temperature, humidity, and the season. Generally, you can water the plant every 7 to 10 days. Allow the top 2 to 3 cm of the potting soil to dry out slightly between waterings. During spring and summer, when the plant is actively growing, the water requirement may increase slightly. In autumn and winter, when growth slows, you can reduce watering to every 2 to 3 weeks. Check the soil moisture by feeling the top layer. If it feels dry, it is time to water. Ensure the pot has good drainage holes to prevent standing water and root rot. Adjust your watering based on the temperature and humidity in your environment to keep your Kentia Palm healthy.
How do I know if my Kentia Palm is getting enough water?
To determine if your Kentia Palm is getting enough water, you can use a few simple methods:
-
Feel the Soil: Stick your finger a few centimeters into the top layer of the potting soil. If the soil feels dry at this depth, it is time to water. If the soil is still moist, you can wait before watering.
-
Check the Leaves: Pay attention to the plant's leaves. If they start to wilt, develop brown edges, or look dry, this may be a sign that the plant is not getting enough water. Healthy leaves should be glossy and full green.
-
Drainage: Ensure your pot has good drainage. Excessive watering can lead to root rot, which can also indicate a watering problem. If you notice that the potting soil remains wet for too long, this may mean you are overwatering.
-
Weight of the Pot: Lift the pot to feel if it feels light or heavy. A light pot can indicate dry soil, while a heavy pot usually points to moist soil.
By keeping an eye on these indicators, you can better assess whether your Kentia Palm is receiving enough water and adjust your watering if necessary.
Spraying the Kentia Palm
For extra humidity, it can be helpful to regularly mist the leaves of your Kentia Palm, especially during dry periods or the winter months when humidity is often lower. Use a fine sprayer and ensure you moisten the leaves evenly without leaving them soaked.

Kentia Palm Location
The location of your Kentia Palm plays a major role in its health and growth. This plant has specific light and temperature requirements that must be met in order to flourish optimally. Here we answer some frequently asked questions about the ideal location for your Kentia Palm.
Where should I place my Kentia Palm?
The Kentia Palm loves bright, indirect light. Avoid direct sunlight, as this can damage the leaves. A spot near a window with filtered light is ideal.
Can the Kentia Palm survive in a dark corner?
Although the Kentia Palm can tolerate some shade, it will grow better with sufficient indirect light. A location that is too dark can slow growth and make the plant less lush.
Can the Kentia Palm be placed outdoors?
The Kentia Palm, known for its elegance and lush foliage, can also be placed outdoors, but with some important considerations:
-
Suitable Environment: The Kentia Palm can be placed outdoors in a sheltered location where it receives indirect, filtered sunlight. Direct exposure to full sun can burn the leaves and damage the plant.
-
Temperature: This palm prefers moderate temperatures and is best kept outdoors when temperatures are between 15°C and 25°C. In colder climates, the palm must be moved indoors during the winter months or protected from frost.
-
Humidity: The Kentia Palm will thrive outdoors in a warm, humid environment. In drier climates, it may be necessary to provide extra humidity, for example by regularly spraying the leaves.
-
Protection against Wind: Place the palm in a spot where it is protected from strong winds and weather conditions that can damage the leaves.
-
Soil and Pot: Ensure well-draining potting soil and a pot with drainage holes to prevent water from accumulating, which can cause root rot.
If you place the Kentia Palm outdoors, take these factors into account to ensure the plant remains healthy and retains its elegant appearance.
Kentia Palm Repotting
Repotting your Kentia Palm is an important step in maintaining a healthy and lush plant. Here are some guidelines for repotting:
-
Timing: Preferably repot your Kentia Palm in the spring or early summer, when the plant is actively growing. This ensures that the plant can adapt better to its new pot and soil.
-
Pot size: Choose a pot that is approximately 2 to 5 cm larger in diameter than the current pot. Pots that are too large can lead to waterlogging, because the soil remains moist longer than desired.
-
Potting Soil: Use a well-draining potting soil, such as a mixture of potting soil with some perlite or sand. This promotes air circulation around the roots and prevents root rot.
-
Removing the Plant: Carefully remove the Kentia Palm from its current pot. This can easily be done by turning the pot upside down and gently tapping the sides. Be careful not to damage the roots.
-
Preparing the New Pot: Add a layer of potting soil to the bottom of the new pot. Place the Kentia Palm in the center of the pot and fill the space around the roots with fresh potting soil. Ensure that the roots are not too deep and that the plant is at the same depth as before.
-
Attention after Repotting: Water the plant thoroughly after repotting so that the soil can settle and any air bubbles are removed. Place the plant in a spot with bright, indirect light to support the recovery period.
-
Monitoring: Keep a close eye on the Kentia Palm after repotting. Ensure the soil remains evenly moist and watch for signs of stress such as wilting or leaf loss.
By following these steps, you help your Kentia Palm adapt well to its new pot and environment, which contributes to healthy growth and a beautiful appearance.
Fertilizing the Kentia Palm
Fertilizing your Kentia Palm is an important step to ensure the plant remains healthy and grows well. Although this palm is relatively easy to care for, it requires regular feeding to replenish the necessary nutrients consumed during growth.
Frequency and Timing
Fertilize your Kentia Palm during the active growing season, which runs from early spring to late summer. During this period, when the plant is actively producing new leaves and growing, it requires more nutrients. It is ideal to fertilize the plant every 4 to 6 weeks. In the autumn and winter, when growth slows, you can reduce or even stop fertilization, depending on your plant's needs and environmental conditions.
Type of Fertilizer
Use a balanced houseplant fertilizer with an even ratio of nitrogen (N), phosphorus (P), and potassium (K), such as a 10-10-10 or 20-20-20 formula. These nutrients promote healthy growth, strong roots, and abundant leaf development. There are also specially formulated fertilizers available for palms that contain extra micronutrients which can be beneficial for your Kentia Palm.
Application
Follow the instructions on the fertilizer packaging for the correct dosage and application. Over-fertilization can be harmful to your plant, so do not use more than recommended. Mix the fertilizer with water and give it to the plant after allowing the soil to dry out slightly. This helps to prevent any damage to the roots from direct contact with concentrated fertilizer solutions.
Monitoring and Adjustment
Pay attention to your Kentia Palm's reactions to the fertilization. If you notice that the plant is not responding well, such as with the appearance of brown leaves or stunted growth, it may be necessary to adjust your fertilization schedule or amount. Balanced nutrition contributes to a healthy, lush Kentia Palm and ensures that the plant retains its elegant appearance.
Kentia Palm Potting Soil
Choosing the right potting soil is essential for the health and growth of your Kentia Palm. This plant requires well-draining and airy potting soil to promote optimal root growth and prevent problems such as root rot.
Type of Potting Soil
Use a potting soil that is specially formulated for houseplants or palms. A good mix for your Kentia Palm consists of a combination of potting soil, perlite, and/or sand. This mixture ensures good drainage and prevents water from accumulating around the roots. You can also choose a ready-made palm or tropical plant mix, which often offers the right proportions of nutrients and permeability.
Importance of Drainage
Good potting soil must have excellent drainage properties. This means that the soil quickly drains away excess water and prevents the roots from standing in a damp environment, which can cause root rot. Ensure that your pot has drainage holes to drain water effectively.
Making Your Own Mixture
If you want to make your own potting mix, combine one part potting soil with one part perlite or fine gravel and a small part sand. This combination helps to create an airy, well-draining structure that is ideal for the Kentia Palm. You can also add a little compost to provide extra nutrients, but ensure that the soil does not become too compact.
Maintenance and Renewal
Over time, the potting soil in your Kentia Palm pot may lose its nutrients and change its structure. It is a good idea to refresh the top layer of the potting soil every few years or to repot the plant with fresh potting soil. This ensures that your palm always has access to the necessary nutrients and a healthy growing environment.
By choosing the right potting soil and ensuring proper drainage, you can ensure that your Kentia Palm remains healthy and grows optimally.
Kentia Palm Cuttings
Propagating a Kentia Palm from cuttings can be a challenge, as this plant does not always multiply easily. Nevertheless, it is possible to grow new Kentia Palms by carefully following a few steps. The process requires patience and attention, but with the right techniques, you can successfully propagate new plants. Follow the step-by-step guide below to learn how to propagate your Kentia Palm.
Steps for Propagating a Kentia Palm
Step 1: Timing and Preparation
- Timing: The best time to propagate your Kentia Palm is in the spring or early summer, when the plant is actively growing.
- Selection: Choose a healthy, mature Kentia Palm with strong roots and leaves. Look for young shoots or root buds at the base of the plant.
Step 2: Preparing Cuttings
- Cutting: Use a clean, sharp knife or pruning shears to cut the cutting from the mother plant. Make sure to include a piece of the root bud or a young shoot with a few leaves.
- Cleaning: Carefully remove any dead or damaged leaves from the cutting to reduce the risk of rot.
- Mixture: Fill a small pot with a well-draining potting soil mixture. A mix of potting soil with perlite or sand works well to create an airy structure that promotes rooting.
- Planting: Place the cutting in the pot with potting soil. Ensure that the root bud or shoot is placed firmly in the soil, and lightly cover the cutting with soil.
- Watering: Water the cutting well so that the soil is evenly moist, but not waterlogged.
- Covering: Cover the pot with a clear plastic bag or a mini greenhouse to increase humidity. This helps promote rooting.
- Placement: Place the pot in a warm spot with bright, indirect light. Avoid direct sunlight, which can damage the young cutting.
- Monitoring: Regularly check that the soil remains moist and provides ventilation to prevent mold growth. It can take several months for the cuttings to develop roots and show new growth.
- Transplanting: As soon as the cuttings are well-rooted and show new growth, you can carefully transplant them into larger pots with standard potting soil.
Step 3: Preparing Potting Soil
Step 4: Planting Cuttings
Step 5: Create a Humid Environment
Step 6: Patience and Maintenance
By following these steps, you can successfully propagate new Kentia Palms and enjoy extra specimens of this beautiful plant.
Kentia Palm Toxic
The Kentia Palm is not toxic to humans or pets, including cats, which makes it a safe choice for households with children and pets. You do not need to worry about harmful effects if your plant is placed near your family and your cats. This palm is therefore an excellent addition to any home or office where both people and pets want to feel free and safe.
Pruning the Kentia Palm
The Kentia Palm usually requires little pruning, but occasional pruning can help keep the plant healthy and beautiful. Pruning helps remove dead or damaged leaves and promotes balanced growth. Here is a simple guide for pruning your Kentia Palm:
Steps for Pruning a Kentia Palm
Step 1: Inspect the Plant
- Check: Start by inspecting your Kentia Palm to see if there are any dead, damaged, or unwanted leaves. Also pay attention to any leaves that are diseased or affected by pests.
Step 2: Preparing Supplies
- Tools: Make sure you have clean, sharp pruning shears or a sharp knife. Using clean tools prevents infections and damage to the plant.
Step 3: Removing Dead and Damaged Leaves
- Cutting: Carefully cut off leaves that are completely brown, wilted, or damaged at the base, where they attach to the stem. Cut close to the stem, but avoid damaging the healthy parts of the plant.
- Limit Pruning: Do not prune too many leaves at once to minimize stress on the plant. Remove only the truly necessary leaves.
Step 4: Maintaining the Shape
- Shape: If you want the palm to take on a specific shape, you can also trim the new leaves that are not growing well. Ensure that you always respect the natural shape of the plant.
Step 5: After Pruning
- Care: Give the plant some extra attention after pruning. Ensure that the soil remains evenly moist and avoid overwatering. Check regularly for any new symptoms of disease or pests.
Step 6: Check and Repeat
- Inspection: Inspect your Kentia Palm regularly to see if there are any new dead or damaged leaves. Prune if necessary to keep the plant healthy and maintain its aesthetics.
By following these steps, you can prune your Kentia Palm in an effective and careful manner, which contributes to healthy growth and an attractive appearance of the plant.

Kentia Palm Brown Leaves
Brown leaves on a Kentia Palm can have various causes, and it is important to identify the cause in order to take the right steps for recovery. Hier zijn de meest voorkomende redenen voor bruine bladeren en hoe je ze kunt aanpakken:
Oorzaken van Bruine Bladeren Kentia Palm
1. Onjuiste Watergift
- Te Veel Water: Overbewatering kan leiden tot wortelrot, wat bruine bladeren veroorzaakt. Zorg ervoor dat de potgrond goed doorlatend is en dat er geen water blijft staan in de pot.
- Te Weinig Water: Droge grond kan ook leiden tot bruine bladeren. Controleer regelmatig de vochtigheid van de bovenste laag van de potgrond en geef water als deze droog aanvoelt.
2. Luchtvochtigheid
- Lage Luchtvochtigheid: Kentia Palmen houden van een hogere luchtvochtigheid. In een droge omgeving kunnen de bladeren bruine randen ontwikkelen. Verhoog de luchtvochtigheid door een luchtbevochtiger te gebruiken of door de plant regelmatig te besproeien met water.
3. Directe Zonlichtblootstelling
- Verbranding: Direct zonlicht kan de bladeren van je Kentia Palm verbranden, wat resulteert in bruine vlekken of randen. Zet de plant op een plek met helder, indirect licht voor de beste resultaten.
4. Voedingsstoffen Tekort
- Voedingsgebrek: Een tekort aan voedingsstoffen kan leiden tot bruine bladeren. Zorg ervoor dat je je Kentia Palm regelmatig bemest met een uitgebalanceerde meststof voor kamerplanten.
5. Plagen of Ziekten
- Schade: Controleer de bladeren op tekenen van plagen zoals spintmijten of schimmelinfecties, die bruine vlekken kunnen veroorzaken. Behandel plagen en ziekten met geschikte bestrijdingsmiddelen of natuurlijke remedies.
Actieplan bij Bruine Bladeren Kentia Palm
1. Controleer Watergift
- Herstel: Pas je watergift aan op basis van de vochtbehoefte van de plant. Zorg ervoor dat de grond goed doorlatend is en vermijd zowel overbewatering als uitdroging.
2. Verhoog Luchtvochtigheid
- Verbetering: Gebruik een luchtbevochtiger of sproei de bladeren regelmatig om de luchtvochtigheid rond de plant te verhogen.
3. Pas Standplaats Aan
- Verplaatsing: Verplaats de plant naar een locatie met helder, indirect licht en vermijd directe blootstelling aan de zon.
4. Bemest Correct
- Voeding: Geef je Kentia Palm de juiste hoeveelheid bemesting op basis van de instructies van de meststof die je gebruikt.
5. Inspecteer op Plagen
- Behandeling: Controleer regelmatig op plagen en ziekten en neem passende maatregelen om deze te bestrijden.
Door deze stappen te volgen en de oorzaak van de bruine bladeren te identificeren, kun je de gezondheid van je Kentia Palm herstellen en de plant weer laten bloeien.

Met de juiste verzorging zal je Kentia Palm een prachtige toevoeging zijn aan je interieur, die jarenlang voor een tropische sfeer zal zorgen. Door aandacht te besteden aan zijn behoeften op het gebied van water, licht, en voeding, kun je ervoor zorgen dat deze elegante kamerplant in topconditie blijft.


